No products in the cart.
Home > DIY Delight: Installing 3D Wall Panels at Home
DIY Delight: Installing 3D Wall Panels at Home
- January 9, 2024
- 2:49 pm
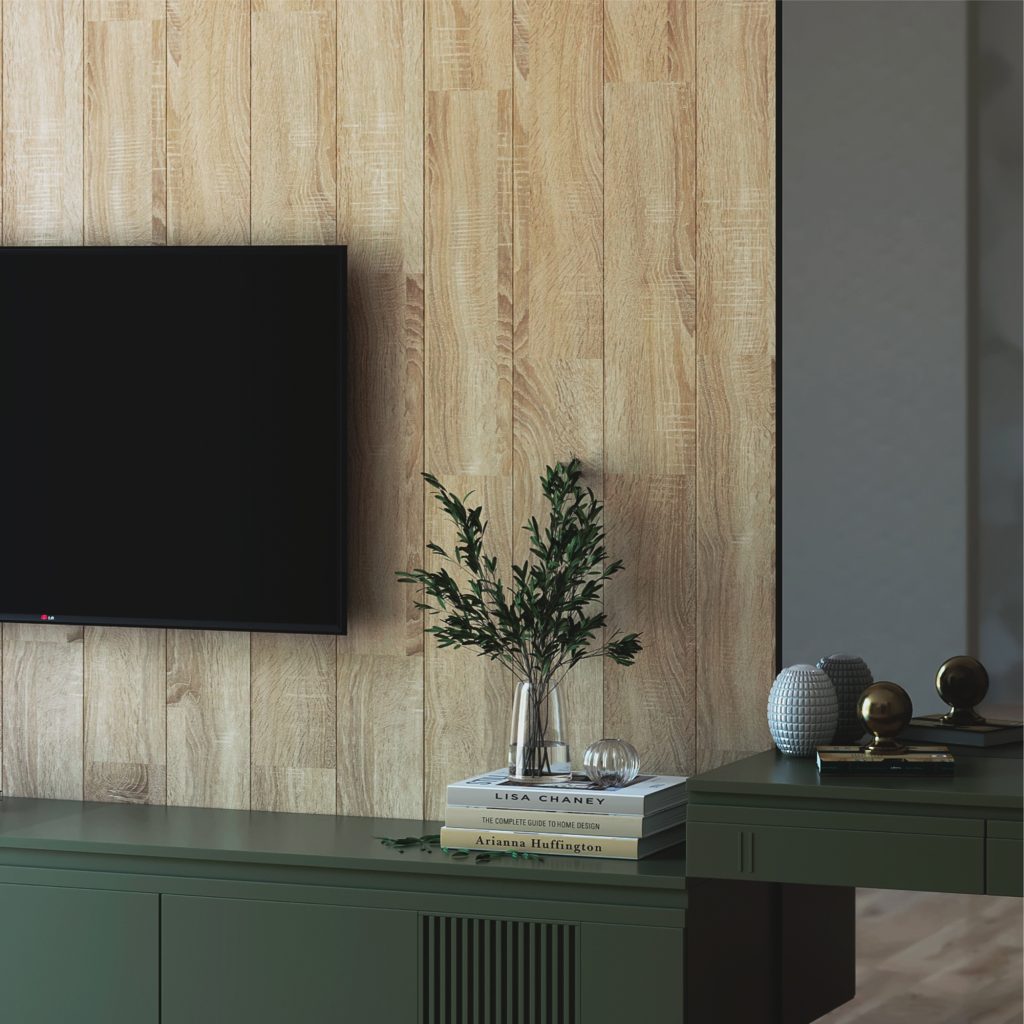
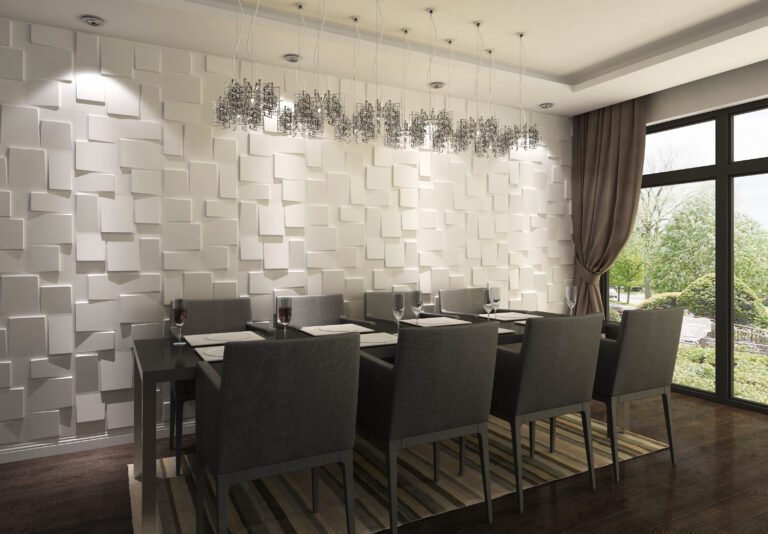
Welcome to the exciting world of interior design and creative DIY projects! In this article, we will explore the fascinating process of installing Styrofoam 3d wall panels at home. If you’re looking for a way to transform your interior with minimal effort and maximum visual impact, you’re in the right place.
Choosing and Preparing Materials
Before we dive into the world of DIY Styrofoam 3D Wall Panels, let’s discuss the selection of materials and necessary tools. When choosing 3D panels for your project, consider the variety of styles and types of wall panels available on the market, including the lightweight and versatile option of Styrofoam. Remember that the right choice of materials can significantly impact the final result.
Once you’ve made your choice, move on to preparing the materials. This stage includes not only purchasing DIY Styrofoam 3D Wall Panels but also acquiring all the necessary tools. Check to ensure you have everything you might need for the installation.
Examining the Room
Before getting into the installation, it’s crucial to thoroughly examine the room. Clear the wall of old coverings and level the surface to ensure a perfect fit for the Styrofoam 3D panels. Consider the lighting in the room to maximize the visual effect of the panels.
Don’t forget about your interior style. Place the decorative wall panels in a way that harmonizes with the overall design of the room. This step will allow you to maximize the potential of your chosen DIY Styrofoam 3D Wall Panels.
Installing 3D Panels
 Now, let’s dive into the most exciting part — installing 3D panels. Our pvc 3d wall panels are particularly easy to work with.. Let’s break down how to install Styrofoam 3D wall panels step by step.
- Preparing the Wall: Clean the wall and ensure it is even. Use a builder’s level to check for horizontal and vertical alignment.
- Marking and Planning: Determine the installation locations by taking precise measurements and creating a light outline with chalk or a pencil.
- Attaching Styrofoam 3D Panels: Follow the detailed manufacturer’s instructions. Typically, the process involves using adhesive, anchors, or other fastening elements suitable for Styrofoam.
- Trimming and Fitting: If necessary, trim the panels to the desired size to ensure a seamless fit with each other and the surrounding environment.
Finishing and Decoration
Once the Styrofoam 3D wall panels installation is complete, it’s time to think about finishing touches. Choose finishing materials that complement your design. You can use paint, modern wallpaper or other materials in conjunction with Styrofoam 3D panels to achieve the perfect effect.
Don’t limit yourself to just walls. Consider the possibilities of using Styrofoam 3D panels in other parts of the interior, such as ceiling tiles creating unique accents.
Support and Maintenance
For your project to be successful, pay attention to additional tips on caring for Styrofoam 3D panels. Learn how long it takes for the adhesive to fully dry and follow the care recommendations for Styrofoam materials.
Congratulations, you’ve successfully completed your diy Styrofoam 3d wall panels project! The result will undoubtedly delight you and your guests. Share your results with others, inspire, and give others the opportunity to dive into the amazing world of installing Styrofoam 3D panels in the home interior.
Related Posts
Snap Your Space, See Our Style!
Ever scrolled through a website and wondered how wall panels, floor tiles, or ceiling tiles would look in your space? …
Tile-Free Interiors: Why SPC and PVC Wall Panels Are the Future
Wall panels have become one of the most exciting alternatives to traditional tiles in modern interiors. Designers and homeowners alike …
Sustainable and Eco-friendly 3D Wall Panel Options
Sustainable and eco-friendly 3D wall panels are an innovative solution for environmentally conscious interior design. These panels are crafted from …
Best 3D Wall Panels for Commercial Spaces
Modern commercial interiors often prioritize thoughtful design, ambiance, and customer perception. One of the most effective and budget-friendly ways to …

