No products in the cart.

Snap Your Space, See Our Style!
Ever scrolled through a website and wondered how wall panels, floor tiles, or ceiling tiles would look in your space? …
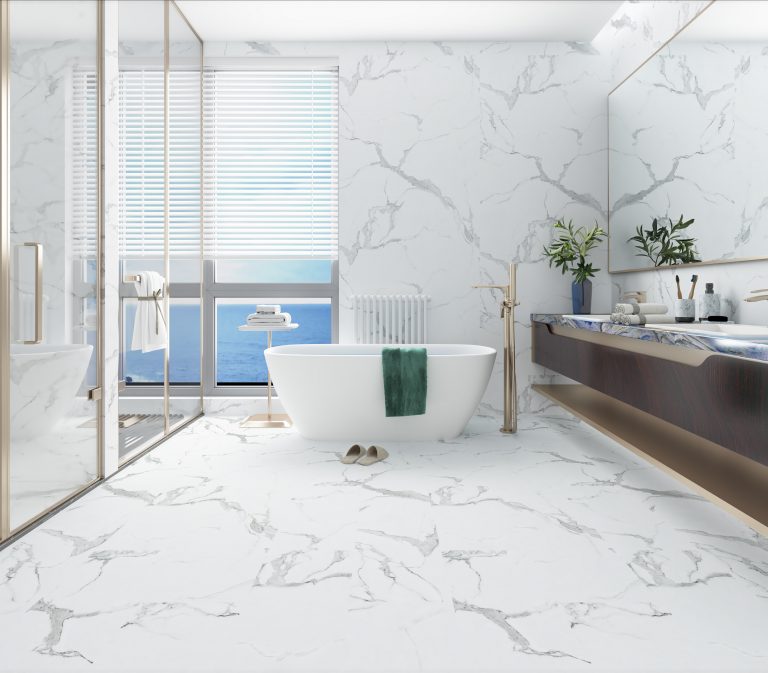
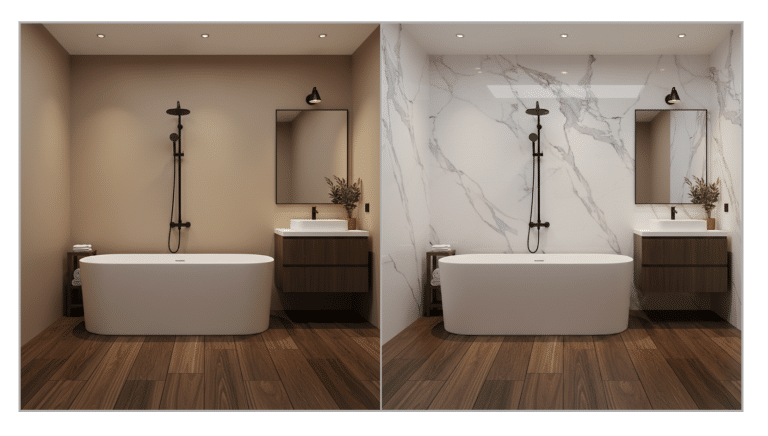
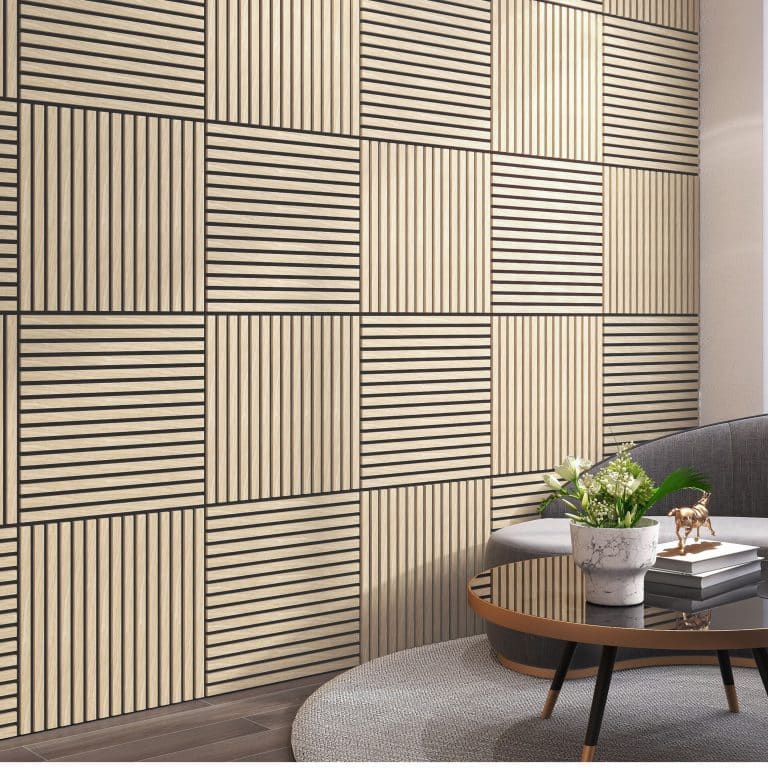
Tile-Free Interiors: Why SPC and PVC Wall Panels Are the Future
Wall panels have become one of the most exciting alternatives to traditional tiles in modern interiors. Designers and homeowners alike …
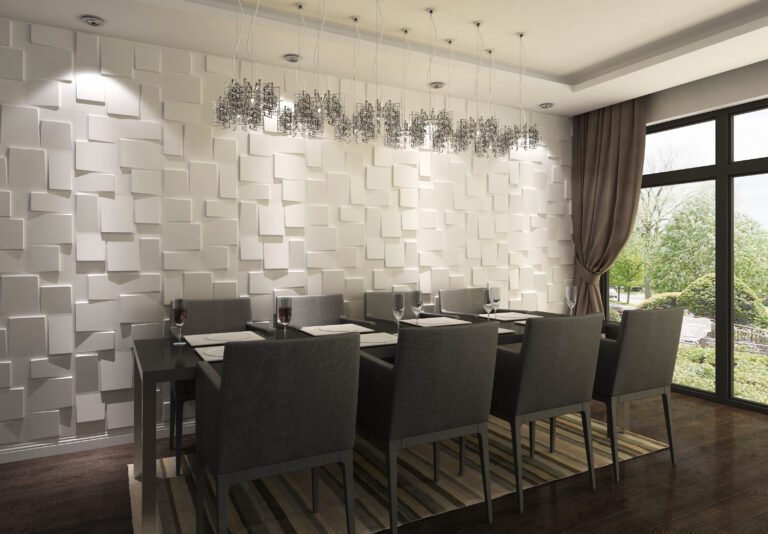
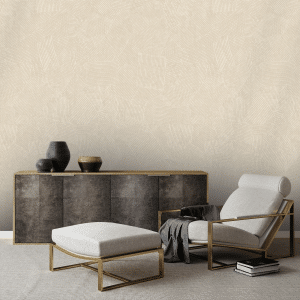
Sustainable and Eco-friendly 3D Wall Panel Options
Sustainable and eco-friendly 3D wall panels are an innovative solution for environmentally conscious interior design. These panels are crafted from …
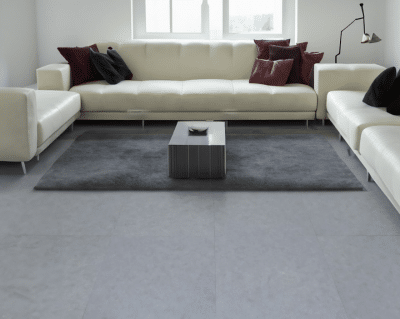
Best 3D Wall Panels for Commercial Spaces
Modern commercial interiors often prioritize thoughtful design, ambiance, and customer perception. One of the most effective and budget-friendly ways to …