No products in the cart.
Home > How to Install Decorative Ceiling Tiles
How to Install Decorative Ceiling Tiles
- August 2, 2022
- 9:09 pm

The Secret To Decorative Ceiling Tiles
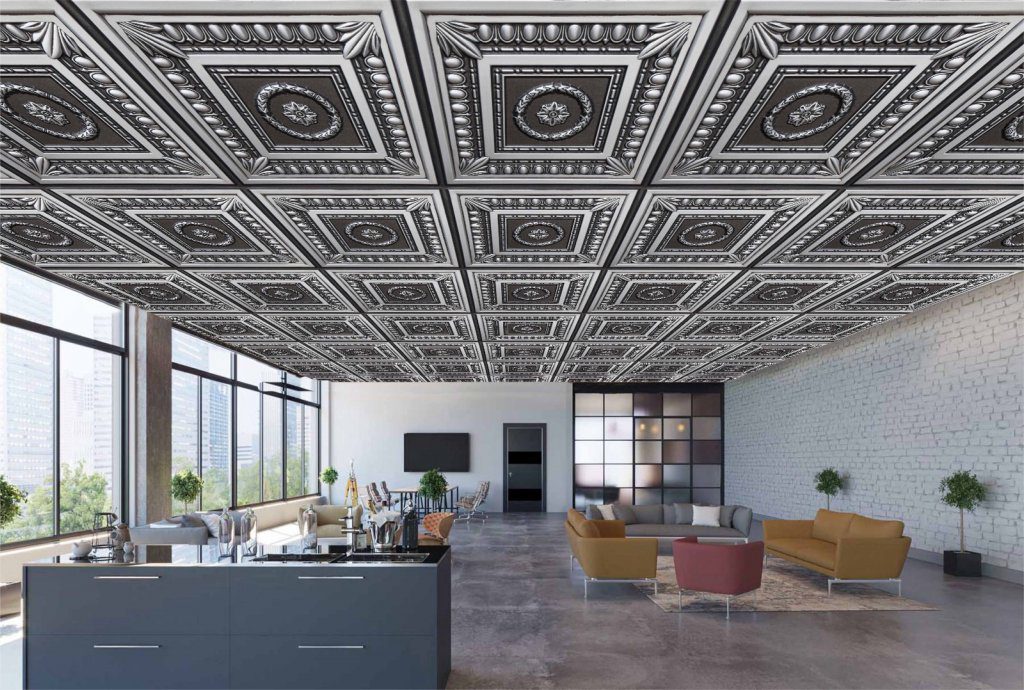
Ceiling tiles can be complex to install – but when it comes down to the fact of the matter, there are basically only two ways to get that decorative ceiling tiles job done right. The First of these is surface mount tiles. Terrible ceilings that display the ‘Popcorn’ look or stains can be a challenge – ceiling tiles can be a cost-effective and attractive option. They are also great because you can give them the DIY treatment by attaching them directly to the drywall or ceiling (or joists or plaster). In this way, you do not have to through the onerous process of learning advanced DIY work.
However, you will need to do some preparation.
You will need the following:
- The Surface-mount ceiling tiles themselves (feel free to explore your inner decorator).
- Adhesive of course
- A common paint roller
- A well-constructed ladder
- A chalk line applicator.
- A caulking applicator
- and the ever-important pencil and tape measure
Installation Process
You will have to determine the number of ceiling times you will need. It’s a fairly simple process. Measure your space as per lower school application (length x width). Allow ten percent extra just to be safe. Clean and smooth the ceiling. A good coat of primer will help the process by allowing the tiles to stick more easily using the adhesive that you have purchased.
Secondly, make sure that the room that you are dealing with is made ready. Start in the middle of the ceiling. After measuring the ceiling space from edge to edge. A chalk line is absolutely necessary. You will end up with a cross – across room edge to edge and that will be your starting point.
Thirdly comes the sticky bit when you will have to apply the glue/ceiling adhesive. The first step of that process is to measure and mark all four corners of your first tile. Then line up the pencil marks on the ceiling and you are ready to begin. Stick that all-important first tile to the ceiling. Use that paint roller to push it into position. Apply it until you are satisfied it will not come crashing down. Continue the process with the other tiles in your inventory.
Then, at the last, you are going to have to trim off the edges of the tiles that have reached the wall edges. Measure the space that remains and use a utility knife to trim down any edges that do not fit your desired finish. Then go for the glue once again – and the finish should be perfect.
Rinse and repeat for all the rooms that you are refinishing.
Related Posts
How to Find Your Decorating Style: A Journey to Personalizing Your Space
Your home is your sanctuary, a reflection of your personality, preferences, and lifestyle. “Discovering your ideal interior design style is …
Student Living Made Easy: Why Peel and Stick Flooring is Ideal for Dorms – Copy
Benefits of Peel and Stick Flooring in Dormitories Stylish Options for Dorm Room Flooring Transform Your Dorm with Peel and …
Styrofoam Panel Installation Guide: Transform Your Space with Dundee Deco
Styrofoam panels are swiftly gaining popularity as a versatile and stylish solution for wall upgrades. Whether renovating an existing space …
Exploring Options: Finding the Best Peel and Stick Flooring for Retail Spaces
Factors to Consider When Choosing Types of Peel and Stick Flooring Best Practices for Choosing Exploring Options: Finding the Best …


