No products in the cart.

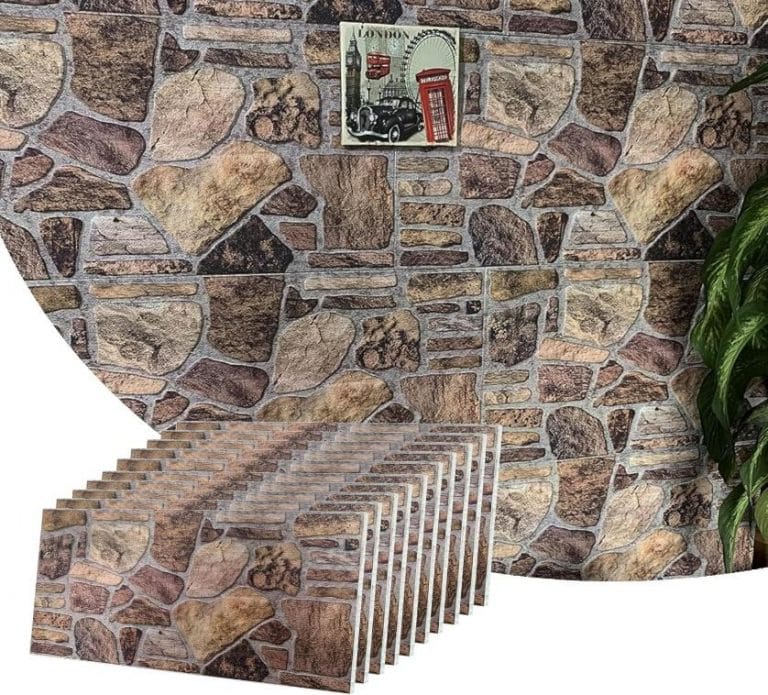
A Complete Benefits Guide To Stone Wall Panels
Are you craving the textured feel of a rustic Italian villa or the industrial vibes of a Brooklyn loft? Believe …
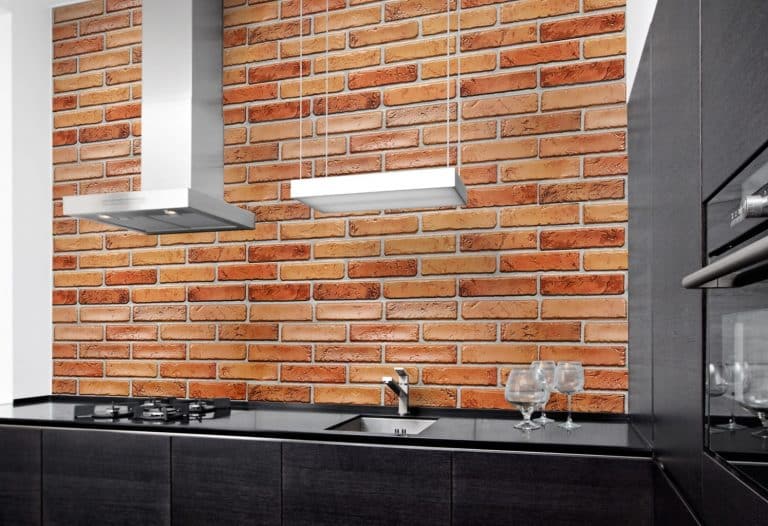
The Complete Guide to Brick Wall Panels: Benefits, Installation, and Design Ideas
Faux brick wall panels have become popular with homeowners and designers because of their rustic appeal. They mimic the look …

How to Find Your Decorating Style: A Journey to Personalizing Your Space
Your home is your sanctuary, a reflection of your personality, preferences, and lifestyle. “Discovering your ideal interior design style is …

Student Living Made Easy: Why Peel and Stick Flooring is Ideal for Dorms – Copy
Benefits of Peel and Stick Flooring in Dormitories Stylish Options for Dorm Room Flooring Transform Your Dorm with Peel and …