No products in the cart.
Acoustic 3D Wall Panels for Soundproofing
When it comes to creating a stylish, functional, and quiet interior space, acoustic wall panels offer the perfect combination of …

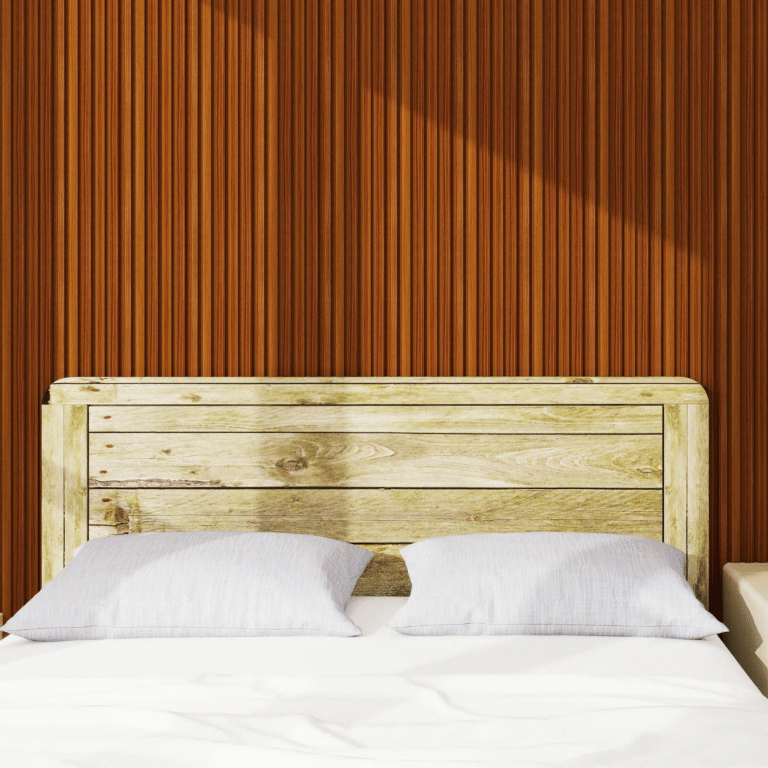
PVC vs Wood Slat 3D Wall Panels: Pros and Cons
Whether you’re renovating an entire room or upgrading a single focal point, 3D wall panels add depth, texture, and character …
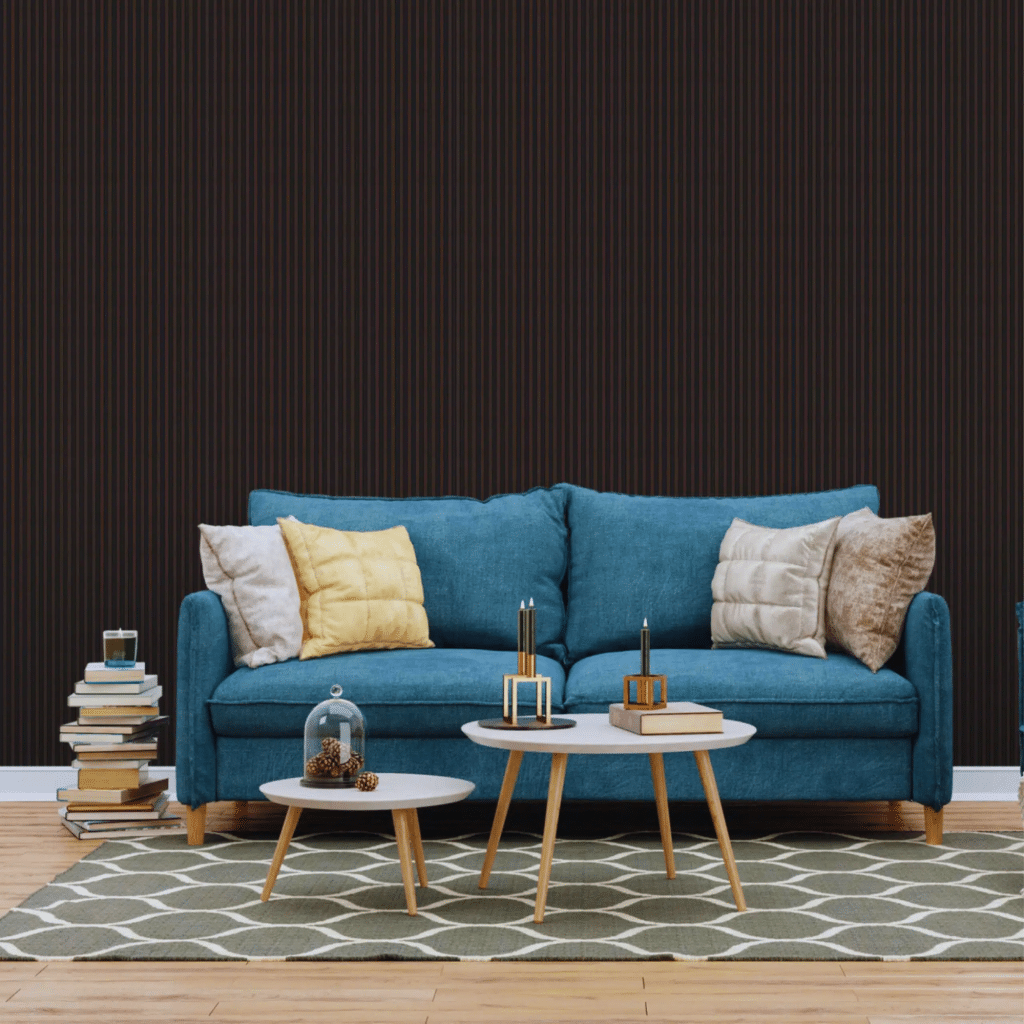
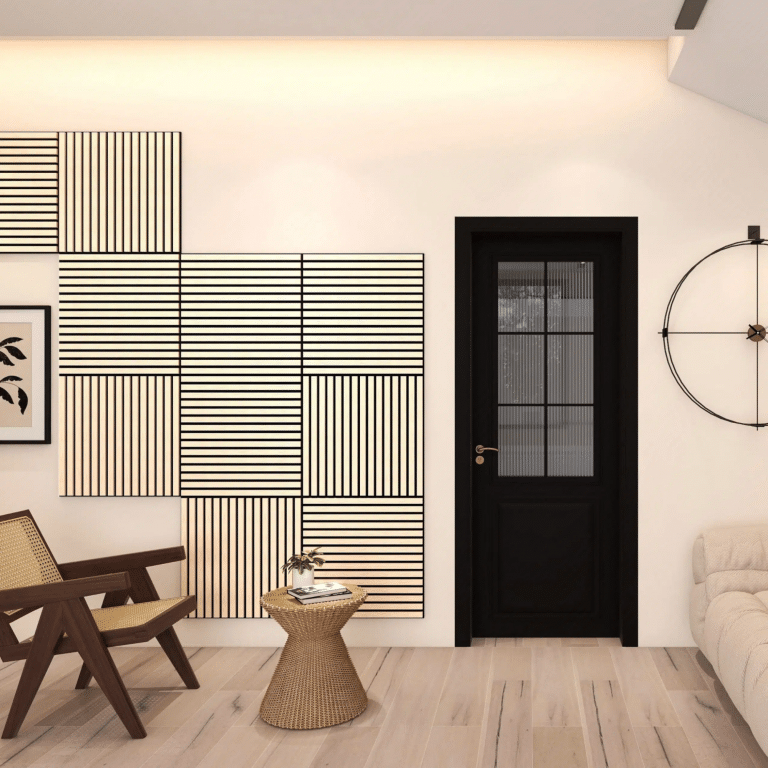
Best 3D Wall Panels for Modern Interiors
Modern interiors thrive on clean lines, textured surfaces, and smart material choices. If you’re looking to enhance plain walls, 3D …
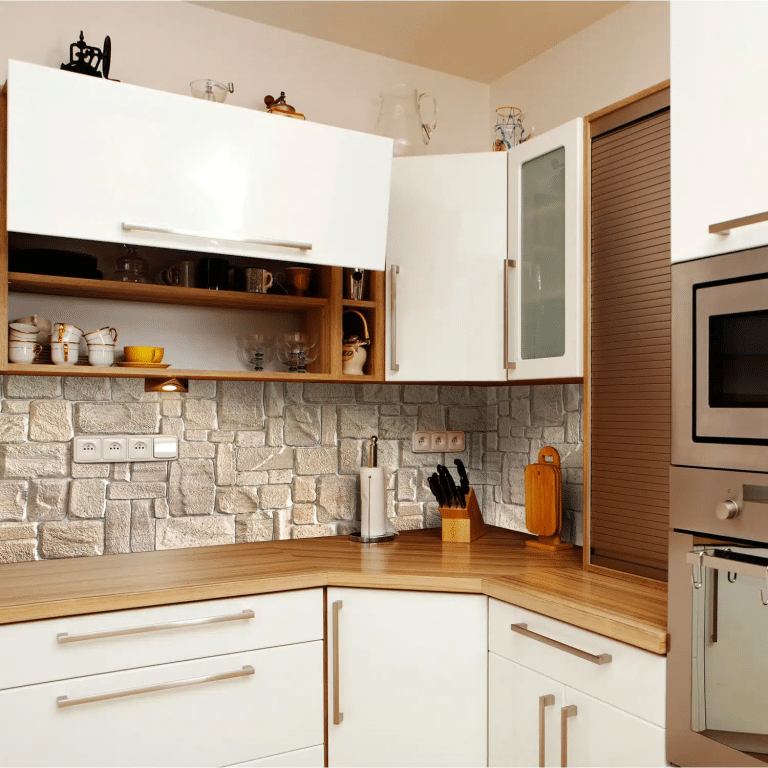
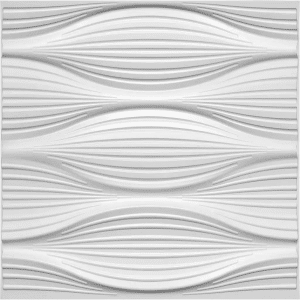
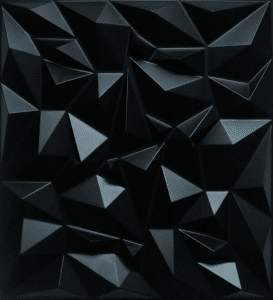
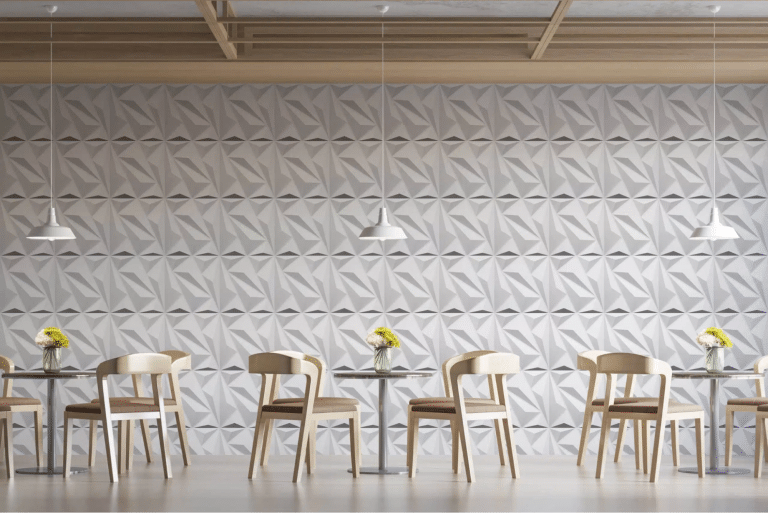
Types of 3D Wall Panels: Materials and Designs
Looking to bring visual interest and texture to your interior spaces? 3D wall panels are an innovative and stylish solution …