No products in the cart.

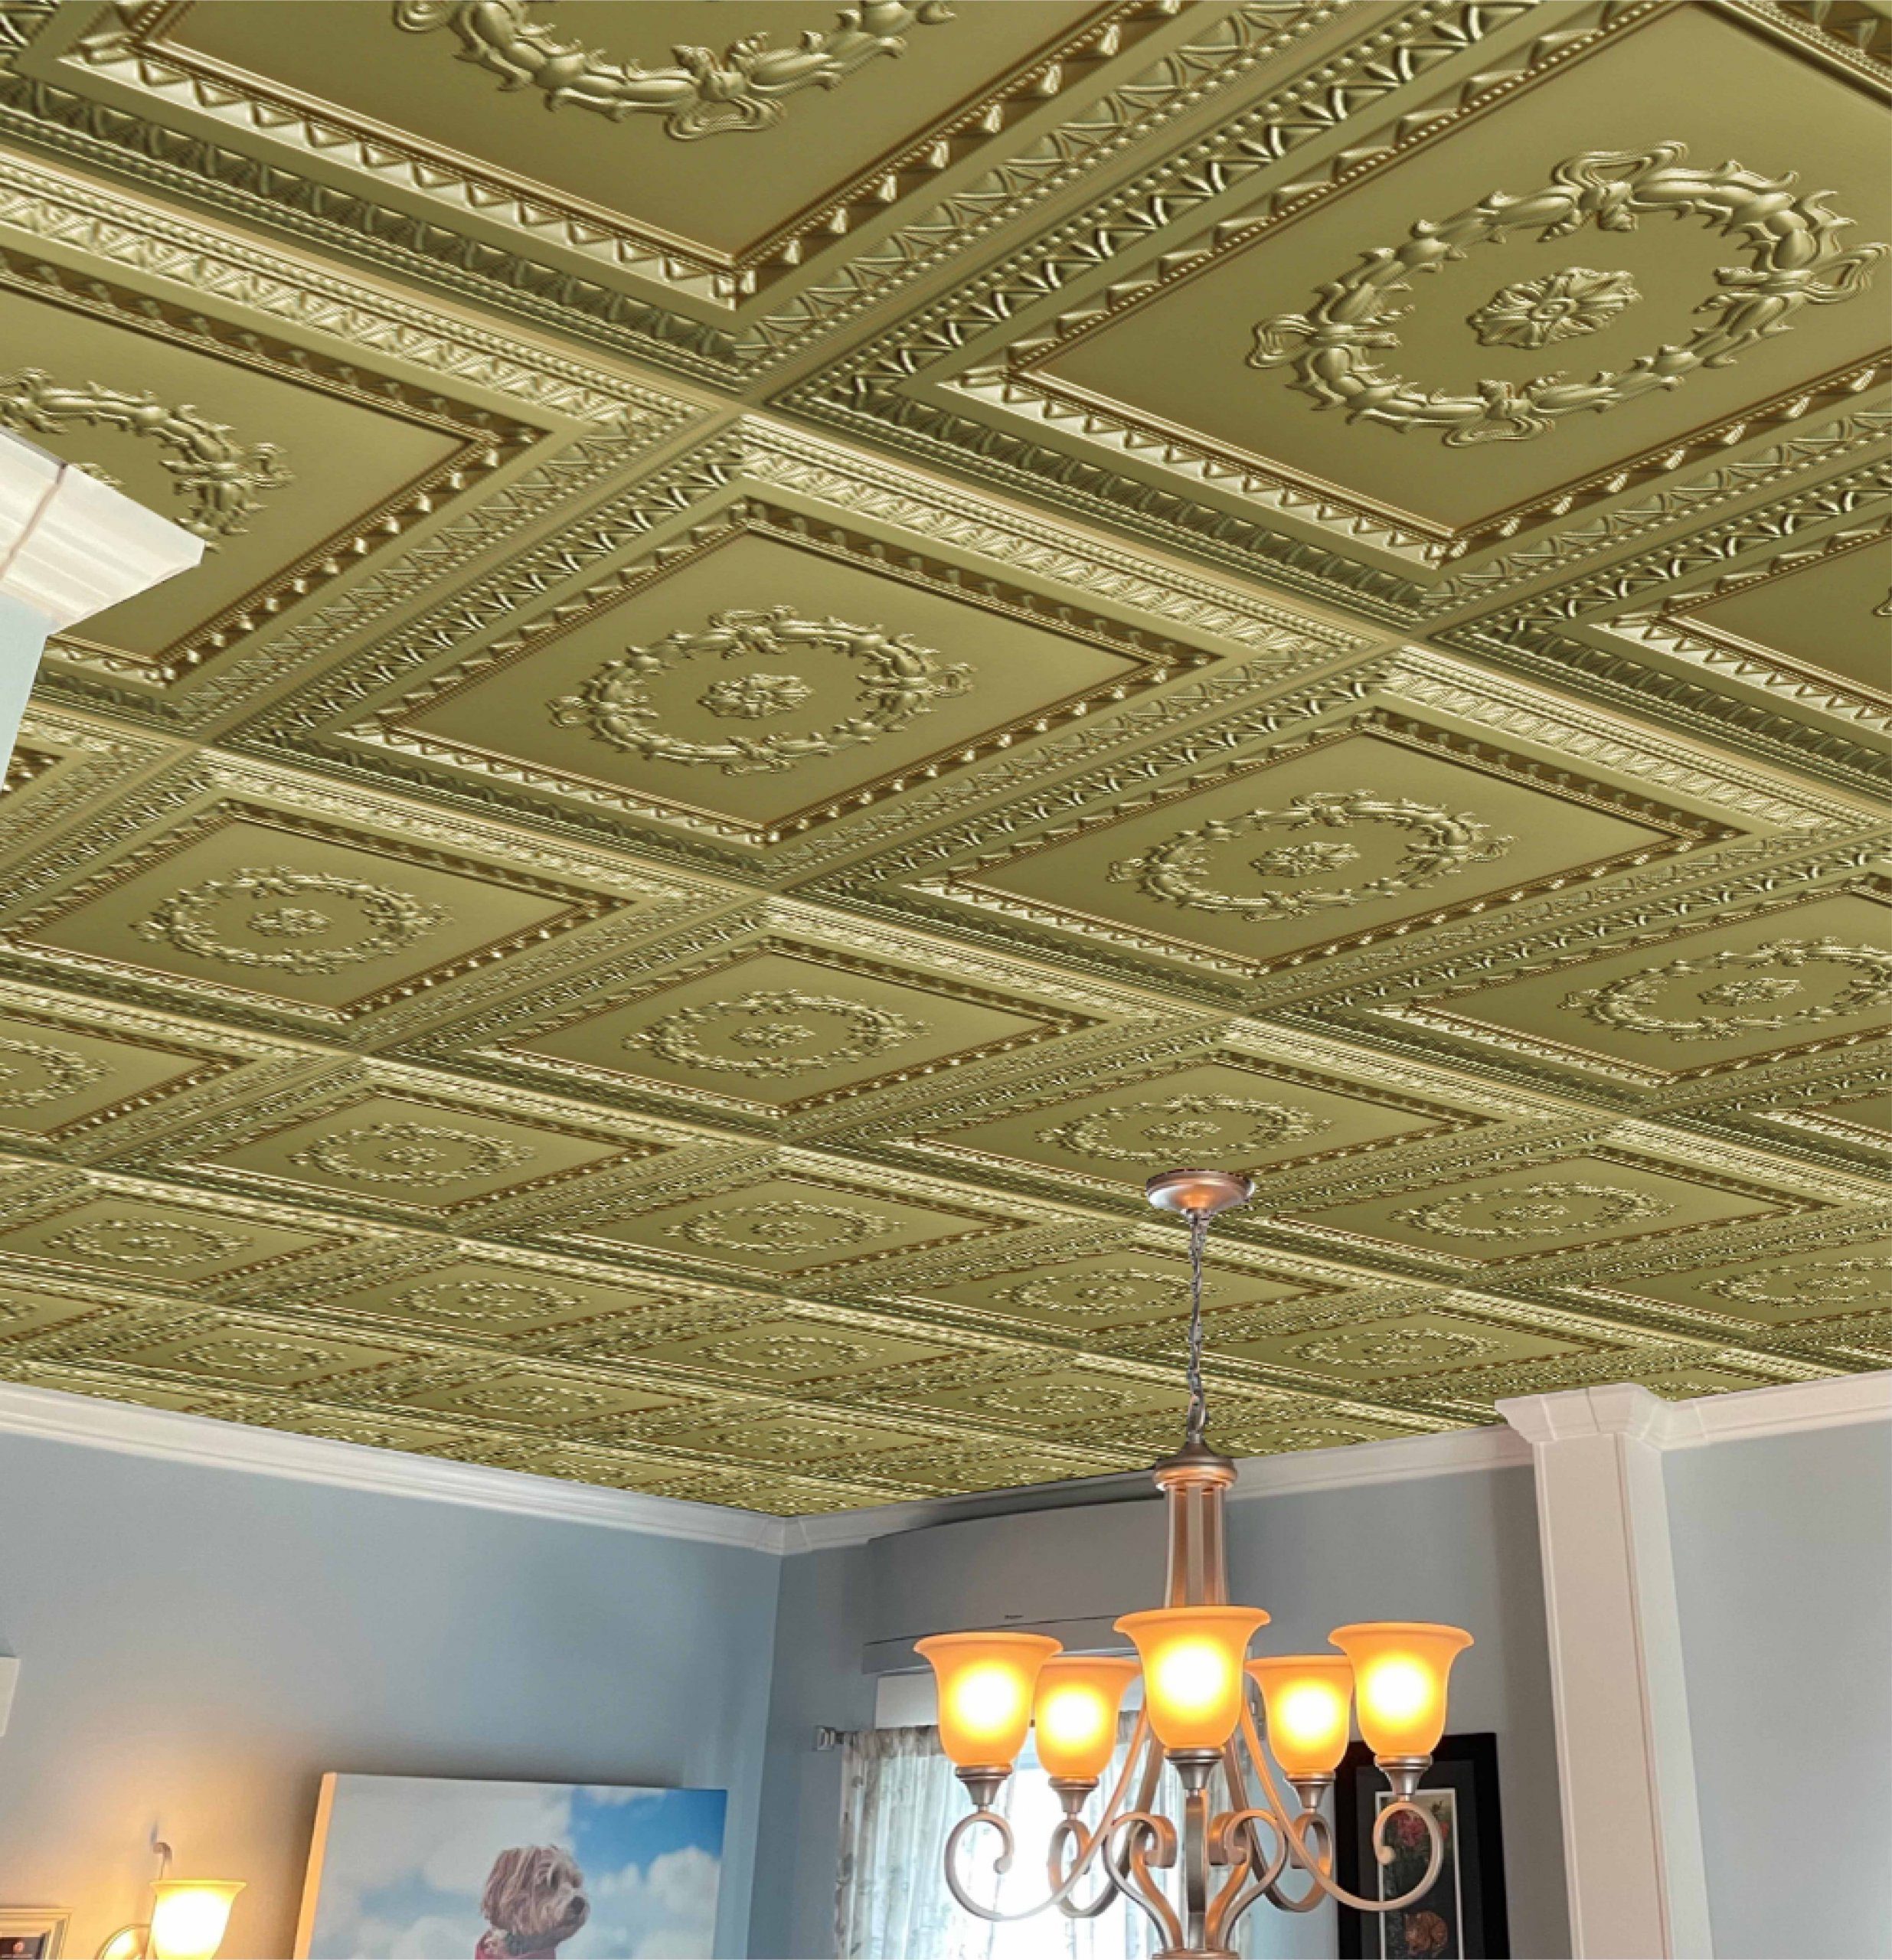
Enhancing the aesthetic appeal of your living or working space doesn’t always require a major overhaul. One cost-effective and visually impactful way to transform a room is by installing ceiling tiles. In this guide, we’ll walk you through the easy and efficient process of ceiling tiles installation, ensuring a revitalized space that reflects your style.
Choosing the Right Ceiling Tiles
Before diving into the installation process, it’s crucial to select the right ceiling tiles for your space. Consider factors such as material, design, and acoustic properties. Ceiling tiles come in various materials like acoustic foam, PVC, or metal, each offering unique benefits. Once you’ve chosen the perfect tiles, you’re ready to embark on the installation journey.
Essential Steps for Installing Ceiling Tiles
Revamping your living or working space can be a rewarding project, and installing ceiling tiles is a fantastic way to add a touch of elegance and style. With the right tools and a bit of know-how, you can transform any room with ease. In this guide, we’ll walk you through the essential steps for the hassle-free installation of ceiling tiles, whether you’re a seasoned DIY enthusiast or a first-time renovator.
Tools and Materials
 Before diving into the installation process, gather the necessary tools and materials to ensure a smooth workflow. You’ll need:
- Ceiling Tiles: Choose a design that complements your space and meets your aesthetic preferences.
- Adhesive: Select a high-quality adhesive suitable for ceiling tile installation.
- Furring Strips (if applicable): For an alternative installation method.
- Measuring Tape: Ensure precise measurements for accurate tile placement.
- Level: To maintain a straight and balanced installation.
- Utility Knife: For cutting tiles to fit around edges and corners.
- Caulk and Caulk Gun: To seal gaps and provide a polished finish.
- Safety Gear: Including gloves and safety glasses.
Preparing for the Installation of Ceiling Tiles
Before embarking on the installation journey, the preparation phase plays a crucial role in ensuring a seamless and successful outcome. The following steps will guide you through the essential tasks of getting your ceiling ready for the installation of tiles.
1. Clean the Ceiling Surface
Before starting the installation, ensure the ceiling is clean and free of dust or debris. A smooth surface will promote better adhesion and longevity.
2. Measure and Plan
Accurate measurements are key to a successful installation. Measure the dimensions of your ceiling and mark the center point. This central reference point will serve as a guide for laying out the tiles evenly. Use a chalk line or laser level to create a grid on the ceiling, ensuring precise placement of each tile.
3. Prepare Adhesive
Follow the manufacturer’s instructions to prepare the adhesive. Apply it generously on the back of each tile using a trowel, ensuring even coverage.
Direct Installation of Tiles onto the Ceiling
Directly installing tiles onto the ceiling is a straightforward process that, when executed with precision, yields a symmetrical and visually appealing result. This section outlines the steps involved in this direct installation approach.
- Start from the Center
Begin installing tiles from the center of the room and work your way outward. This ensures a symmetrical appearance.
- Press and Hold
Press each tile firmly onto the ceiling, holding it in place for a few seconds to allow the adhesive to bond securely.
- Cutting Tiles for Corners and Edges
Inevitably, you’ll encounter corners and edges during the installation process. Measure and mark tiles accordingly, and use a utility knife or scissors to cut them to the required size. Ensure a snug fit by double-checking measurements before making any cuts. Precision in cutting ensures a professional finish to your ceiling tile installation.
Installation of Ceiling Tiles Utilizing Furring Strips
 Utilizing furring strips for the installation of ceiling tiles provides an alternative method that not only adds an extra layer of stability but also allows for easy removal if necessary. This section outlines the steps involved in incorporating furring strips into your ceiling tile installation process.
- Install Furring Strips
Begin by attaching furring strips to the ceiling in a grid pattern. These strips create a supportive framework for the tiles, ensuring a secure and even base for the installation. It is crucial to confirm that the furring strips are level and securely fastened to the ceiling. This step establishes the foundation for a reliable and long-lasting installation.
- Affix Tiles to Strips
With the furring strips in place, apply adhesive to the back of each tile. Press the tiles onto the furring strips, allowing the adhesive to bond securely. This method provides an additional layer of stability, as the tiles attach to a structured framework. The use of furring strips is particularly advantageous when easy removal of tiles is a consideration.
- Seal Gaps
Once all tiles are affixed to the furring strips, inspect the installation for any gaps between the tiles and the ceiling. To achieve a polished and finished look, use caulk to seal these gaps. In addition to enhancing the aesthetic appeal, this step serves the practical purpose of preventing moisture from entering the gaps and compromising the integrity of the installation.
By following these steps, you can effortlessly revitalize your space with the installation of ceiling tiles. Whether you choose the direct method or opt for furring strips, the result will be a transformed and aesthetically pleasing environment. Enjoy the process of enhancing your space with this easy-to-follow guide on how to install ceiling tiles.

How to Find Your Decorating Style: A Journey to Personalizing Your Space
Your home is your sanctuary, a reflection of your personality, preferences, and lifestyle. “Discovering your ideal interior design style is …

Student Living Made Easy: Why Peel and Stick Flooring is Ideal for Dorms – Copy
Benefits of Peel and Stick Flooring in Dormitories Stylish Options for Dorm Room Flooring Transform Your Dorm with Peel and …

Styrofoam Panel Installation Guide: Transform Your Space with Dundee Deco
Styrofoam panels are swiftly gaining popularity as a versatile and stylish solution for wall upgrades. Whether renovating an existing space …

Exploring Options: Finding the Best Peel and Stick Flooring for Retail Spaces
Factors to Consider When Choosing Types of Peel and Stick Flooring Best Practices for Choosing Exploring Options: Finding the Best …